
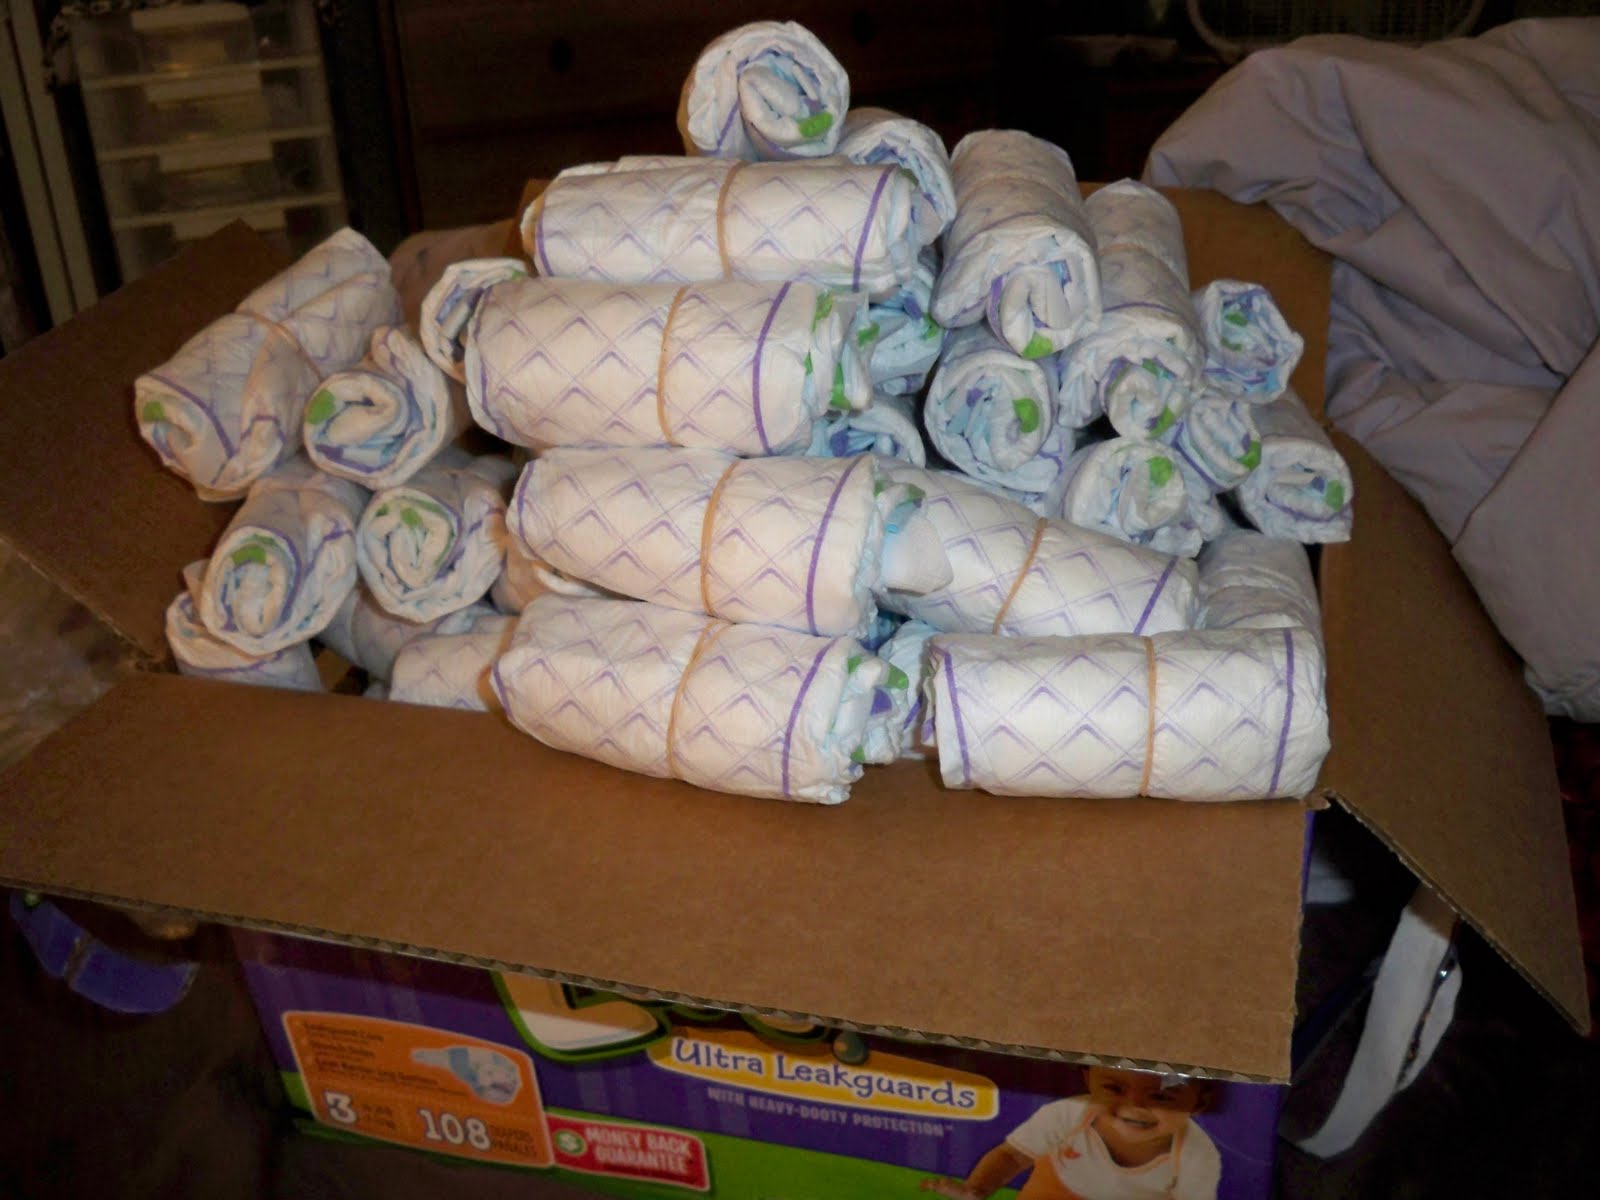
1. First things first, I roll up the entire box of diapers. For a 4 tiered cake, I used about 100 diapers. Roll the diaper design to the INSIDE if you don't want it to show, and secure with a rubber band.


(Yes, I took all of these pics in my bed. Its the easiest place for me to prop myself up so that my back doesn't hurt, and also keep the dogs from stealing diapers!)
1. Lets start stacking. I start with the bottom layer. I use one of those athletic headbands to hold the bottom layer together, it works well for me...but if you have larger rubber bands around your house then go for it! Make the bottom layer a little smaller than your base (cardboard or cheap metal pan)

3. Make the 2nd layer the same way that you did the first, but a little smaller obviously.

4. Add the 3rd and 4th layers.

5. Everything looks a little crooked right now, that's OK. At this point, put the cake on its base. Put the wooden dowel next to the cake and decide how tall you want it to be. If you don't want it to show, then cut it about 1/4 inch below the top of the cake. For this cake I wanted to glue the butterfly to the dowel, so I had it sticking up about 1/2 inch.
6. Straighten all your diapers up and add ribbons. The more the merrier. Make sure to cover all of your rubber bands because, lets face it...they're ugly! I cut the cheap headband once the bottom layer is secured with ribbon and throw it away.
7. Add all of your little baby extras. Use your imagination. Tuck them into the ribbons, tie them onto the top, etc.
8. Step back and look it over. I like to sit mine somewhere where I can see it and look at it for a good 24 hours before the baby shower. That way I can see if there are any little things that need to be adjusted or changed.

**Please use this tutorial for your own use, and do not sell or distribute items created by using this.
No comments:
Post a Comment